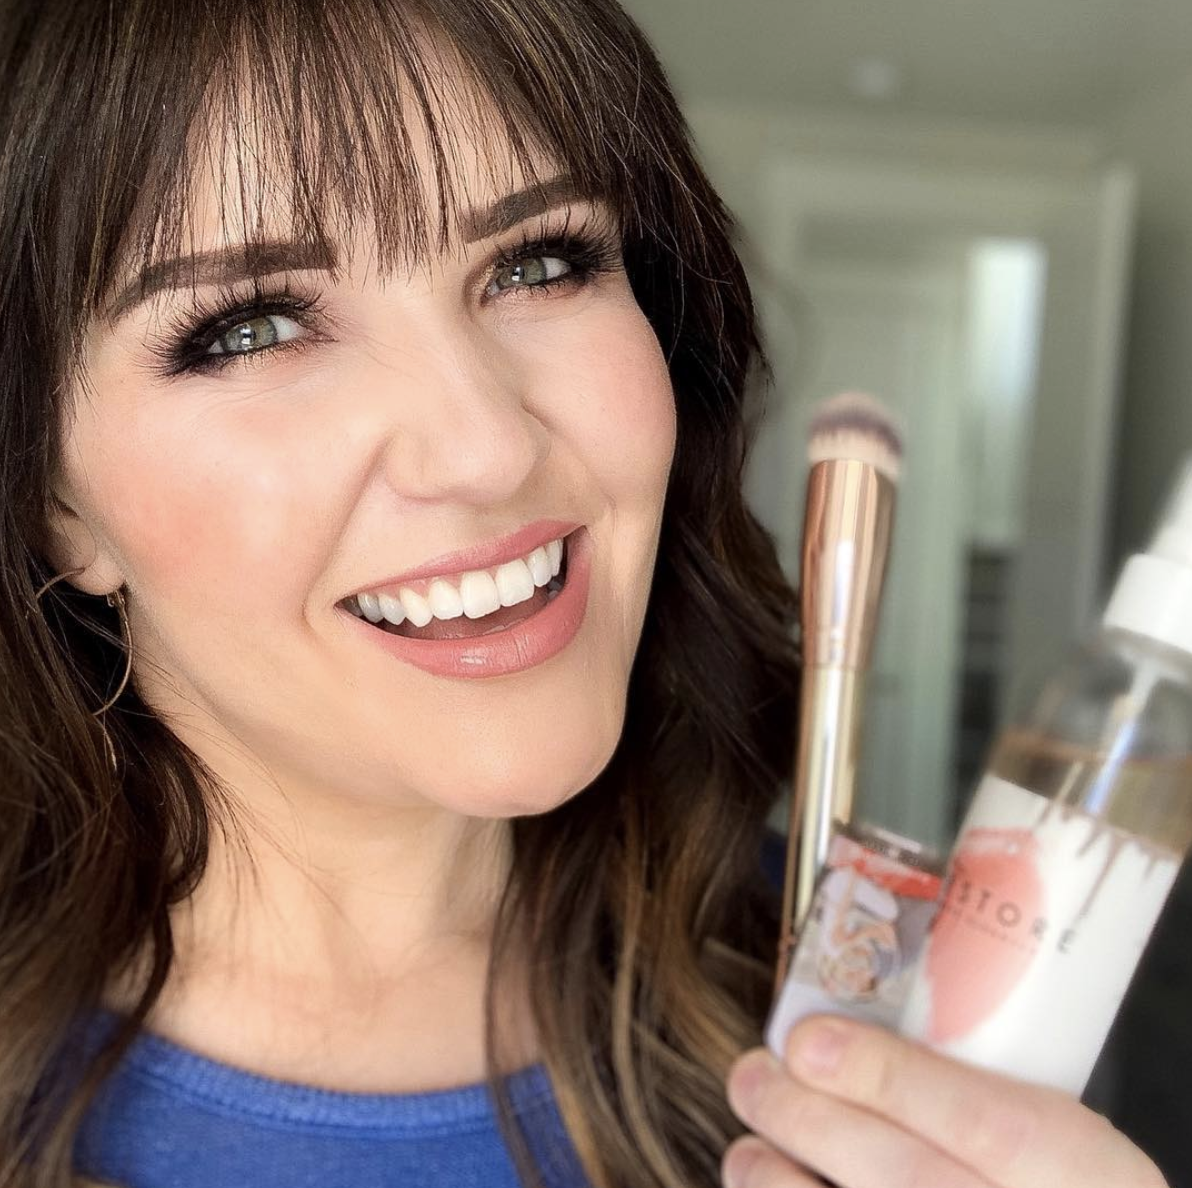
Alright ladies, we are now 3 weeks in to social distancing. And by now, a lot of you are doing the majority, if not all, of your work at home. Which actually can be a really incredible thing! There are so many perks to working from home. But, unfortunately, just because our new office may be our living room couch it does not mean we can look like we just rolled out of bed for a video conference call. So, to help make sure you’re still looking professional when you have to jump online, I wanted to share a super easy business makeup look tutorial with you today that features my favorite Maskcara products. By the time you’re done following this tutorial, no one will even guess that you’re still secretly wearing your pajamas!
Business Makeup Look Tutorial
If you’re more of a greenie when it comes to applying makeup, or simply shy away from trying something new because you simply don’t have the time to figure it out, don’t worry! I’ve broken this tutorial down into 5 simple steps, and I have been sure to include product links along with detailed diagrams. That way, when you try this on your own, you’ll have help every step of the way!

1- Apply Main Highlight
AKA what everyone else in the makeup world calls foundation. But we here at Maskcara like to call it highlight. 🙂 This color will match your overall skin tone, so you’ll want to apply this color first to give you a nice and even base. After you’ve done that, you’ll also apply a lighter/brightening highlight color (aka concealer) to brighten key areas like under your eyes, down center of nose, on the center of your chin, and across the center of your forehead. This brightening highlight will stand out on your video call and give you a youthful appearance.
When applying your main highlight and brightening highlight colors, you’ll want to use the Buffy brush. You’ll use the bigger side of the
brush to apply your main highlight color and the smaller side of the
brush to apply the brightening highlight color. When applying both highlighters, make sure to do so in small, soft circular motions (aka stipple) until you’ve covered the desired area. Do not swipe.
2- Contour
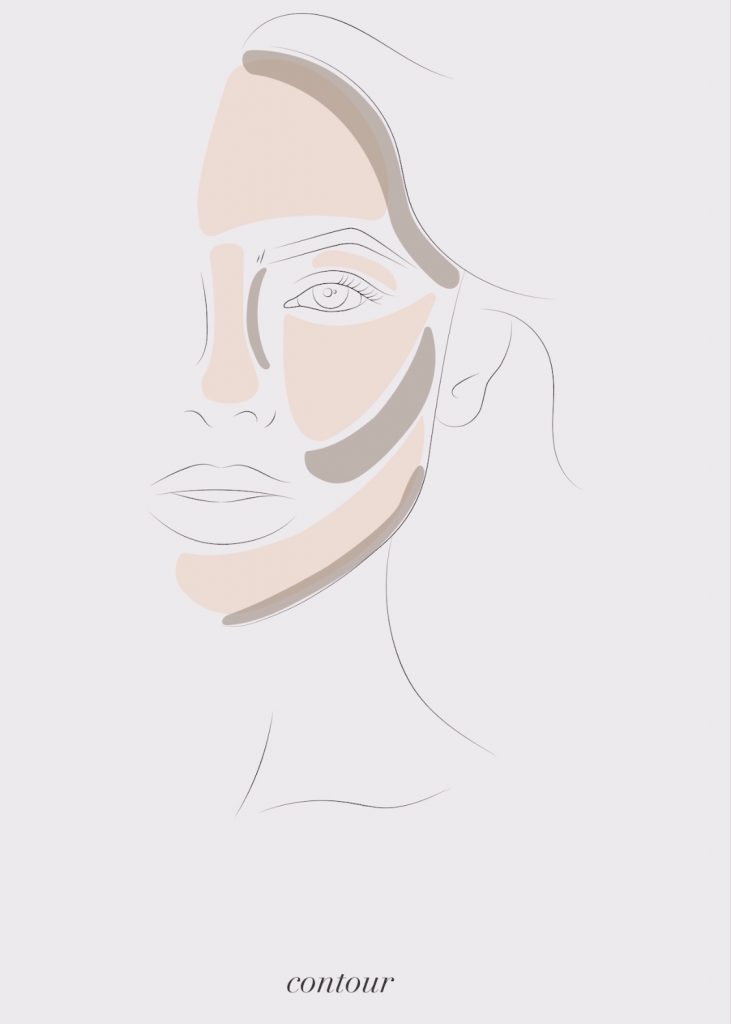
When contouring my face, I like to use the Detail HAC Brush. Take the larger end of the brush, stipple it into your contour makeup tin, and then gently press the bristles of your brush directly underneath your cheekbone to distribute the contour color. After that, you’ll want to also apply your contouring makeup under your jaw and along the hairline of your forehead. You can also apply a very small amount of contour makeup to the very edge of the Detail HAC Brush and stamp it onto side of your nose for a little extra contouring.
3- Lip + Cheek
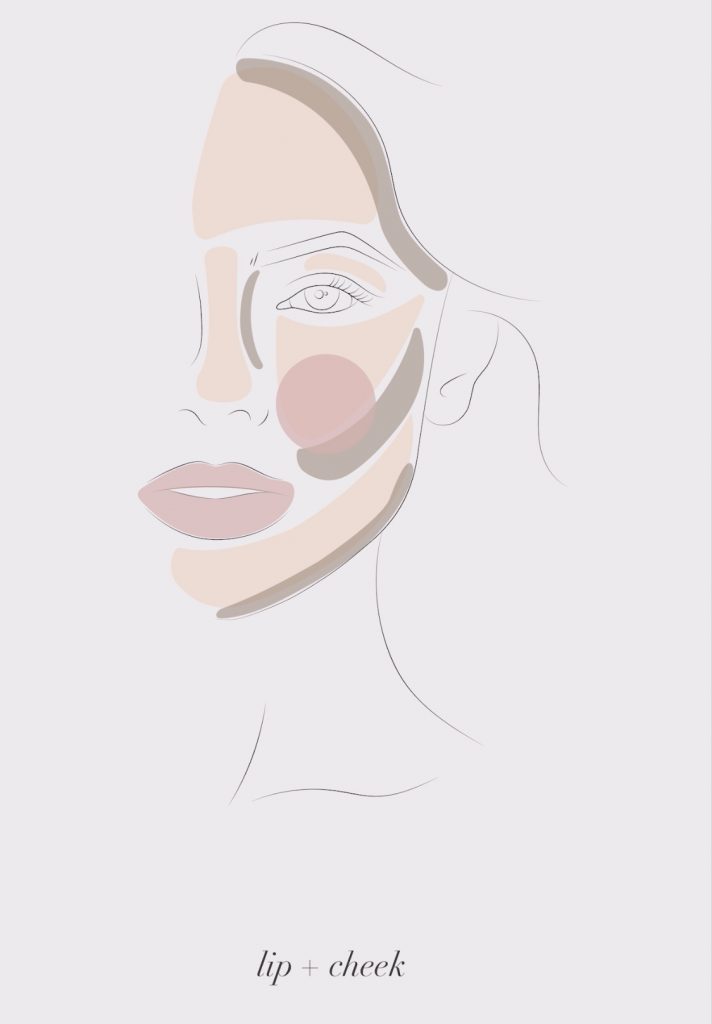
One of my favorite things about Maskcara is that all of their products are so versatile. This includes their lip+cheek colors that double as both a blush and lip color, so you can kill two birds with one stone. When applying any Maskcara lip+cheek product as my blush, I like to use the Blush + Bronzer Brush. Simply use the dense end of the brush to apply the product to the apples of your cheeks. You can then flip the brush over (all Maskcara Brushes are double ended) and use the fluffier end to blend it all out for a seamless finish. Just like with the other colors, be sure not to swipe the product on with your brush, but instead make sure to stipple the lip+cheek color to your cheeks when applying it for a smoother and more concentrated application. I will finish off using Maskcara’s lip+cheek color by using my index finger to press some of the color onto my lips to give me a cohesive finished look.
4- Illuminate
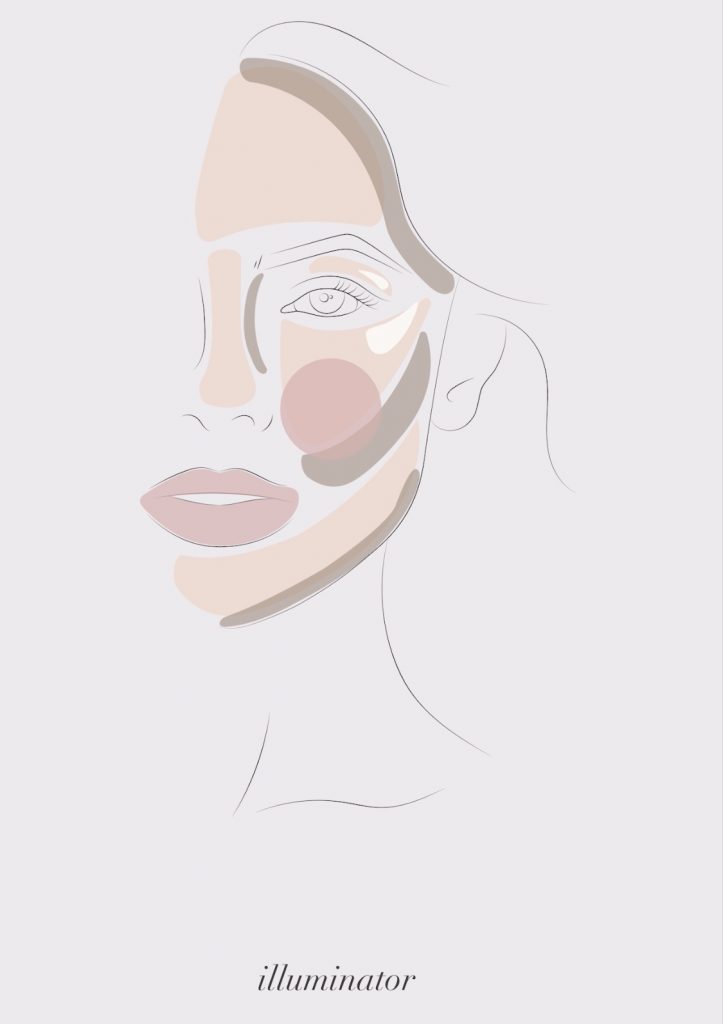
Give yourself just enough shine to maintain a fabulous youthful glow. To do this, use the Best Blend Forever Brush to apply one of Maskcara’s many illuminators on the tops of your cheek bones, down center of nose, and under brow bone.
5- Set With Powder
Doing this not only helps keep your makeup in place but it also prevents any extra shine on camera. This will help you maintain a long lasting and flawless look! For this step, use the Vanilla Dust Setting Powder and apply it with either the Power Powder Brush or damp Perfector Sponge. You can also get the setting powder and the brush in a bundled set, and save $10: Powder Bundle!
Bonus Tips
Here’s a few extra tips to follow that will help maintain your flawless look when you go live:
- Go a little heavier/darker with colors than normal so that they show
up on camera. While it may feel a bit much in real life, it will look very natural on camera and prevent you from looking washed out. - Don’t forget your brows. To really complete your look, you’ll want to make sure your brows are filled in properly. You can do this by simply picking an eyeshadow like Oak if you’re a blonde, Basic if you’re a ginger, Trust or Cole if you’re a brunette, and Salem if you are a raven. Once you have your color, you can use this brush to fill in your brows.
- Make your eyes really pop by using false eyelashes or a really good volumizing and lengthening mascara. And don’t forget to also use an eyeliner on the outer parts of your waterline to add even more definition to your eyes.
- Use a little powder, even if you don’t normally, to help eliminate any chance of looking shiny. Also make sure to avoid products with SPF for the same reason.
- Wear neutral colors so that you don’t get a weird reflection or color cast on your face.
- Sit somewhere with good lighting. Most people don’t own a ring light (although if they do conference calls a lot, they should invest in one). So natural light is best. Sit facing a well lit window, about 3 feet back. No artificial lights on. However, if conference calls like this will be the norm for you, you might want to consider investing in a ring light. THIS ONE is my favorite!
- Make sure your camera is facing straight on or slightly overhead; but never from below. Keeping your camera pointing straight on or from slightly overhead will keep you from look larger than normal through the camera’s lens.
And that’s it! What do you think? If you have any extra tips of questions about this business makeup look tutorial, be sure to let me know! Good luck on all of your virtual meetings!
