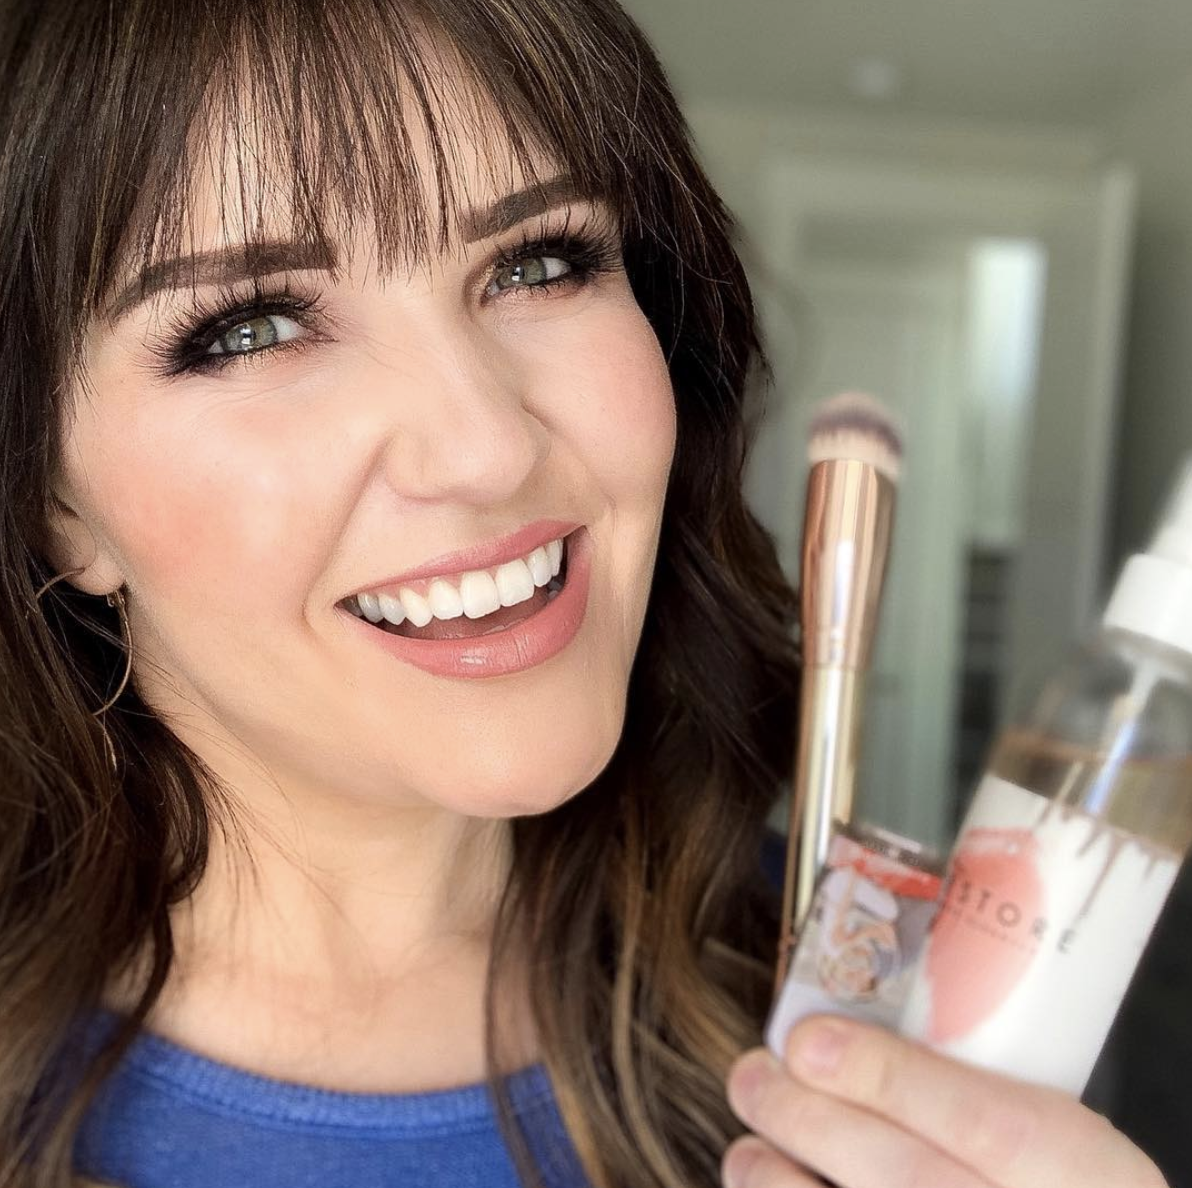
Before becoming a Seint artist, I would steer clear of any product that was used for contouring or bronzing my face. I didn’t know the first thing about either one! Contouring always seemed like a 4-letter word to me and something that was reserved for people like the Kardashians. And as far as bronzer was concerned, I was worried about applying it wrong and looking like Ross from that episode of Friends (where he overdoes it in the tanning bed!). But after being a Seint artist for several years, I am now well versed in both products, and would even go as far as to call myself an expert in this arena. So today I am going to give you my complete guide to bronzer and contour!
What is the Difference?
Bronzer and contouring are two very different techniques. Each technique utilizes a different tone of color as well. We usually think of makeup as covering our face, and while contour does add coverage (or at least Seint’s does), bronzer is sheerer in nature and is not meant to be used as a way to cover blemishes or other imperfections. But don’t worry! With my complete guide to bronzer and contour, you will feel like a pro.
Contour is used to mimic the natural shadows of your face. You place contour on the areas of your face where natural shadows fall. This will accentuate those shadows and add depth and dimension to your face. Because it is meant to mimic shadows, the color of contour should be darker than your natural skin tone and should be cool-toned with an ashy undertone.
In contrast, Bronzer is all about adding warmth to your face. Bronzer does not contain any coverage at all. Instead, it has a much more sheer application. It should be placed on the highest points of your face where the sun will hit first. Bronzer will give your face a more sunkissed, warm glow. That will be the biggest visual difference when shopping for bronzer and contour- the undertones are completely opposite!
Why should you apply contour?
Let’s think about our makeup routine. We put on foundation to even out our skin color and hide any blemishes. But foundation is one dimensional and one color. The application of foundation tends to remove the appearance of the natural definition of our faces and leaves our faces looking flat. To combat that, we use contour to add that dimension back in.
The purpose of contour is to add back in shadows and definition to your face. Contour is ashy in nature with gray/cool undertones. You want this! You want to avoid anything warm. The ashy tones of contour will mimic the natural shadows of your face, which is exactly what you are trying to do with contour.
Guide to Apply Contour
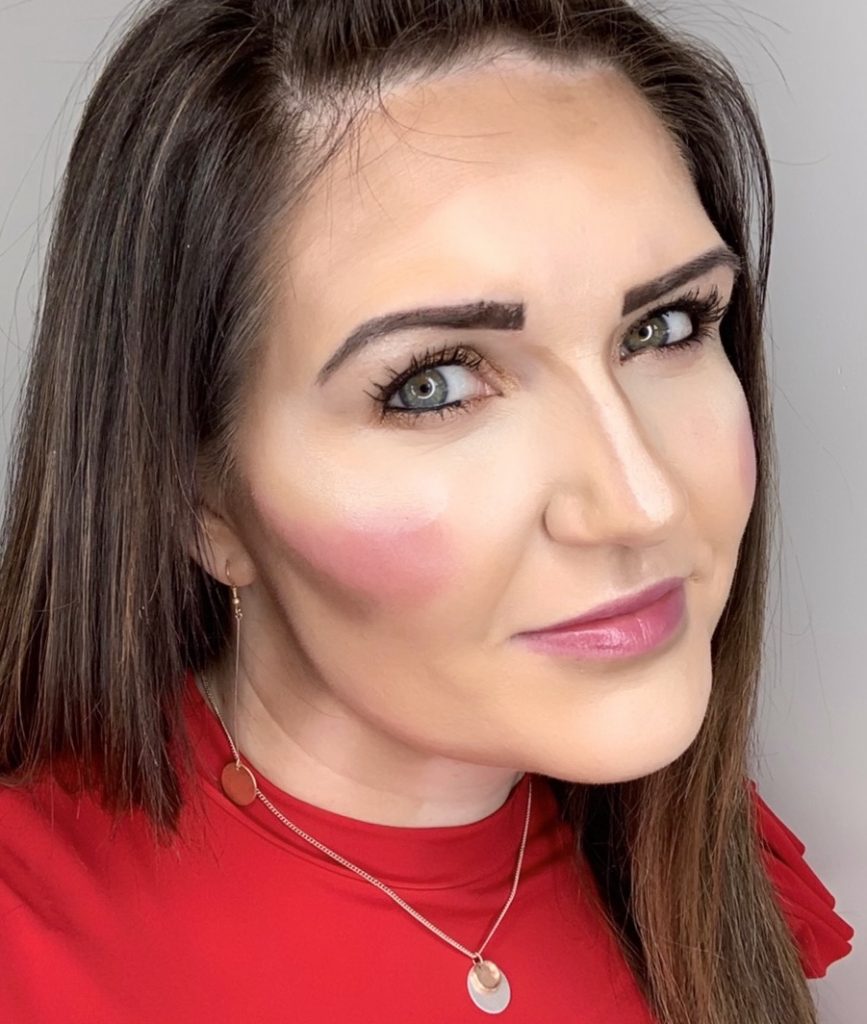
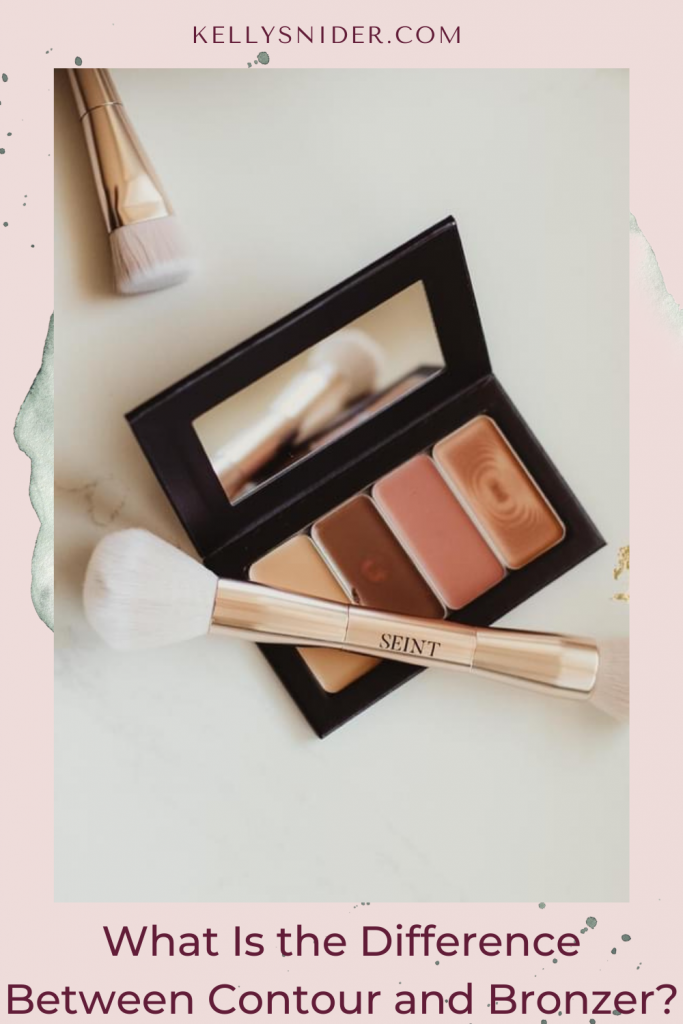
Contour should be placed where the natural shadows fall on your face to give extra depth and dimension. The contour in iiiD foundation is part of the foundation and provides coverage all on its own. It can be placed directly onto the skin and doesn’t need to be layered on top of other makeup. The areas you want to focus on are along the hairline of the forehead, in the hollows of your cheekbones, and along the jawline. You can also add some down the sides of your nose. Contouring will sculpt your cheekbones, narrow your nose, define your jaw, and make the forehead appear smaller. I have a great tutorial on Instagram under the highlight called ‘Contour’.
Why should you apply Bronzer?
Bronzer is helpful in giving your skin a naturally warm and sun-kissed glow. This is especially helpful during the winter months when our skin is missing out on some much-needed sun! Look for a product that is just a little warmer than your skin tone; you don’t want to choose something that ends up looking orange on your skin. Seint’s Bella Bronzer is the perfect shade and will give you a gorgeous sun-kissed glow, no matter your skin tone.
Guide to applying Bronzer
When it comes to using bronzer, it should be applied with a fluffy brush that has more wispy bristles. My favorite brush is the Blush and Bronzer brush. Swirl the fluffy end of the Blush and Bronzer Brush around the Bella Bronzer and apply it to your face using soft, circular motions along the high parts of your face.
Start by applying it onto the apples of your cheeks, directly above your contour. This adds a pretty, warm glow to your cheeks. Your face will have even more definition by adding in some warmth and a little bit of sheer coverage using the bronzer. And then look for the areas the sun is going to hit, and give a little swirl of product to those areas! Some areas you might want to include bronzer besides your cheekbones are on the edge of your chin, the tip of your nose, and the outer edges of your forehead.
Bronzer vs. Contour
Using Contour and Bronzer is easy once you know how to apply them both. And it is made even simpler when using a makeup line like Seint. The key is just using the right colors/tones in the right places on your face. So just be sure to follow my complete guide to bronzer and contour! To review, Bronzer goes on the high parts of your face to give sheer coverage and a sun-kissed glow. And contour will provide you with actual coverage and will mimic the shadows of your face.
If contour and bronzer have intimidated you in the past, don’t let it stop you anymore! I am a seasoned Seint Artist, and I would love to connect and color match you.
