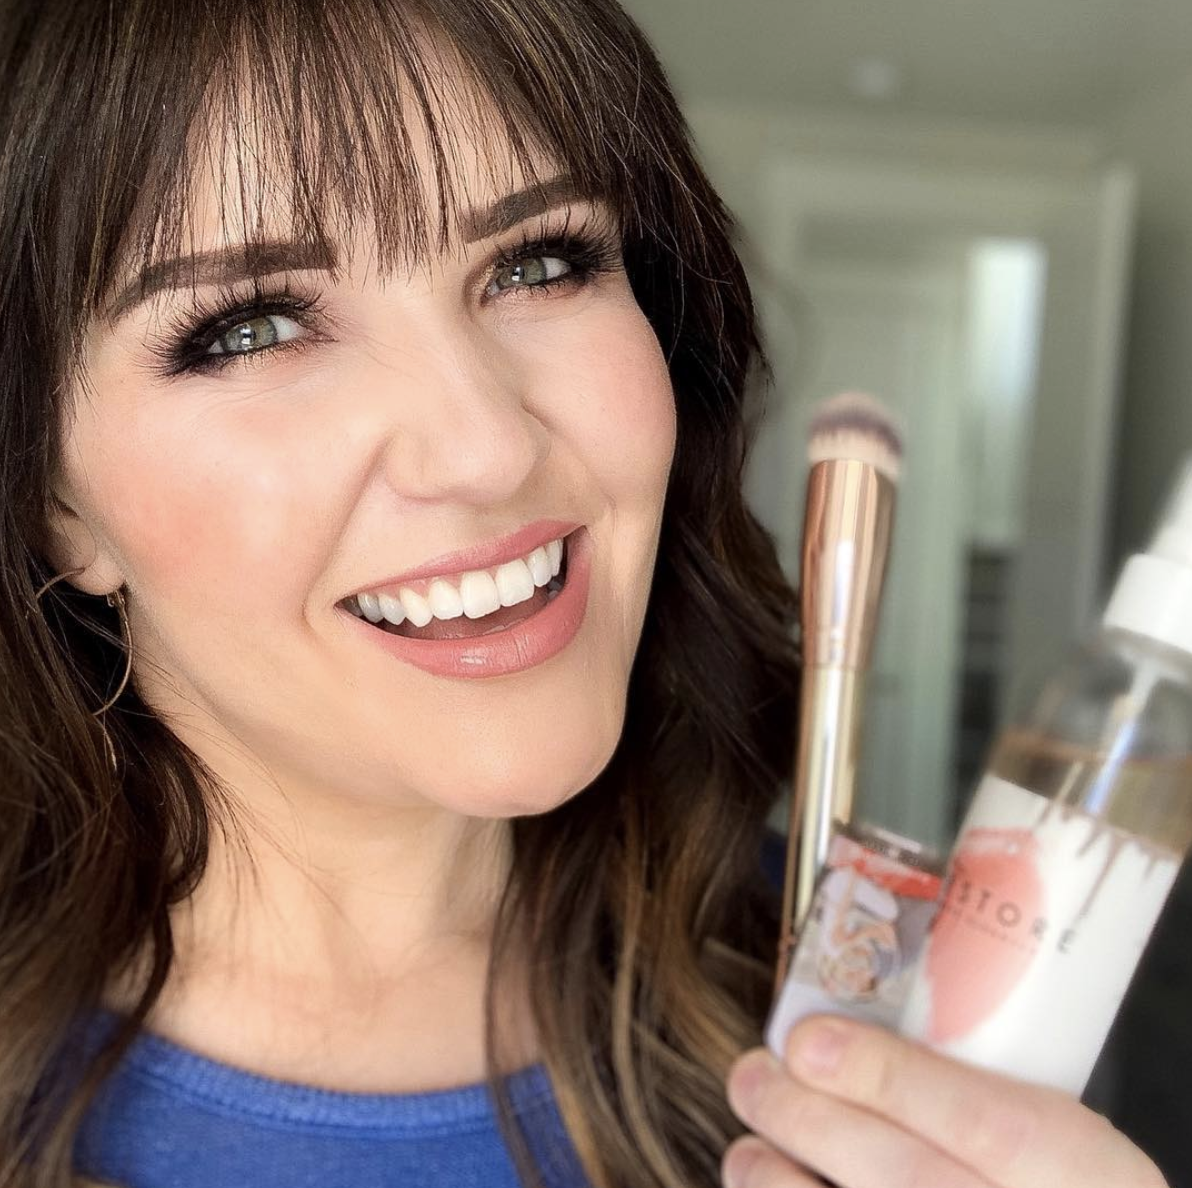
Seint makeup is different than any other makeup line on the market. This makeup is innovative and unlike anything you have seen before. As a cream-based makeup, the iiiD Foundation is highly pigmented so a little will go a really long way. It is such a great investment! I know it can feel a little overwhelming when buying new makeup products, so today I’m going to share my complete guide to Seint’s iiiD Foundation.
Seint Makeup is Unique
Something that makes Seint makeup unique is that you can get your entire face of makeup in one single compact. Everything you want or need to apply is right there in your palette. This includes eye shadow, eye liner, eyebrow fillers, foundation, contour, blush –everything you need! With Seint’s one compact makeup, there is no longer a need to rummage through a bag of bottles and cases.
In my compact, I place all of my cream products on the top layer: my foundation, color corrector, contour, bronzer, lip+cheek colors and Illuminator. The bottom layer is where I keep all of my powder eye shadows. You can also add brow filler and eyeliner. The tins are all individually sold, and so you make up your palette any way you want! Your palette is completely customizable!
I used to purchase entire eyeshadow palettes that included a number of shades I never used. It was such a waste! Now, I only buy the eye shadow shades I know I will use. They can be popped right inside my compact alongside the rest of my makeup! With my complete guide to Seint’s iiiD Foundation makeup, you will know how to use every product that goes inside your customized palette.
Guide to Seint’s iiiD Foundation For Beginners
The actual makeup application is made so easy with Seint’s paint-by-numbers method. The first thing I focus on is Highlight. This is essentially your foundation. You will want to have two different shades of Highlight. The first one for your base layer to match your skin tone. Then a second highlight that is a shade lighter than the base layer that will act as a concealer.
Guide to applying Highlight
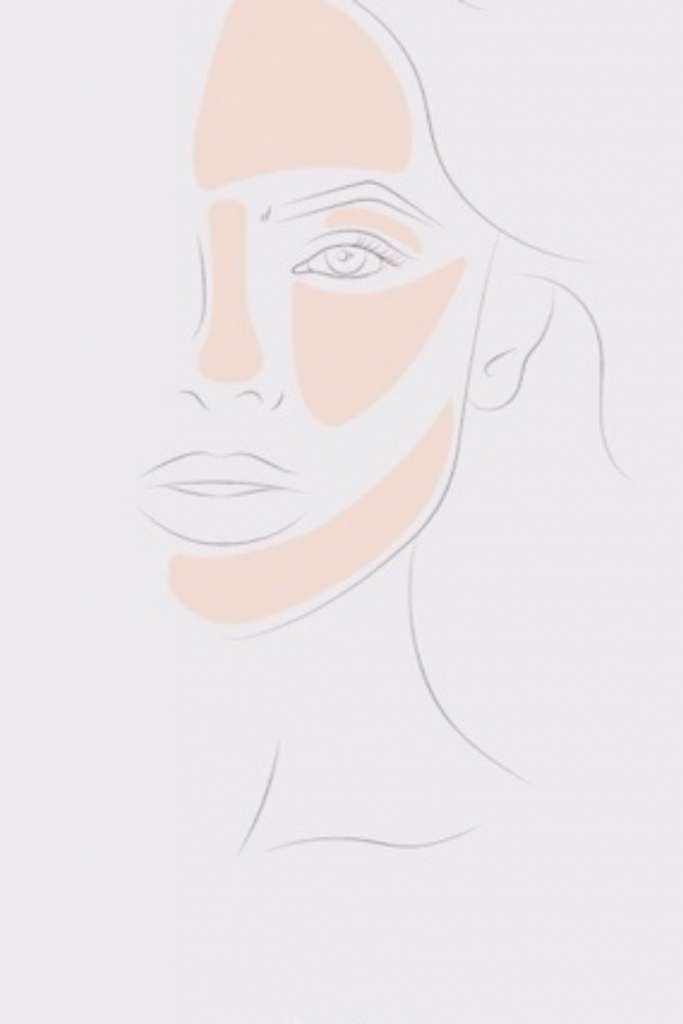
Product – Highlight (Candlelit) – choose a color that will match well with your skin tone.
Used – Similar to traditional foundation, place the shade that matches your natural skin tone in the areas below.
I like to use the small end of my Blush and Bronzer brush to apply the first layer of Highlight. First, apply this in the areas that need to have the color evened out. Typically this means along your forehead, on and around your nose, on your cheek and back towards your temples, on your chin, and on the lower parts of your face along the jaw. Because Seint makeup is cream based, you don’t have to use a lot of Highlight to get great coverage.
Product – Highlight (Linen) – choose a color lighter than the first Highlight you use to lighten and brighten key areas on your face for added dimension
Used – Under eyes, sides of nose, and t-zone area.
Next, take the small and pointed end of the Detail Brush and tap it into your lighter shade of Highlight. I apply this color in the same areas I would apply a traditional concealer. Begin underneath the inner corner of your eyes. Then fan outwards, along the sides of your nose, and through your t-zone area. This includes the center of your forehead, center of chin, above the cupid’s bow, and down the center of your nose.
Contour & Bronzer Tips
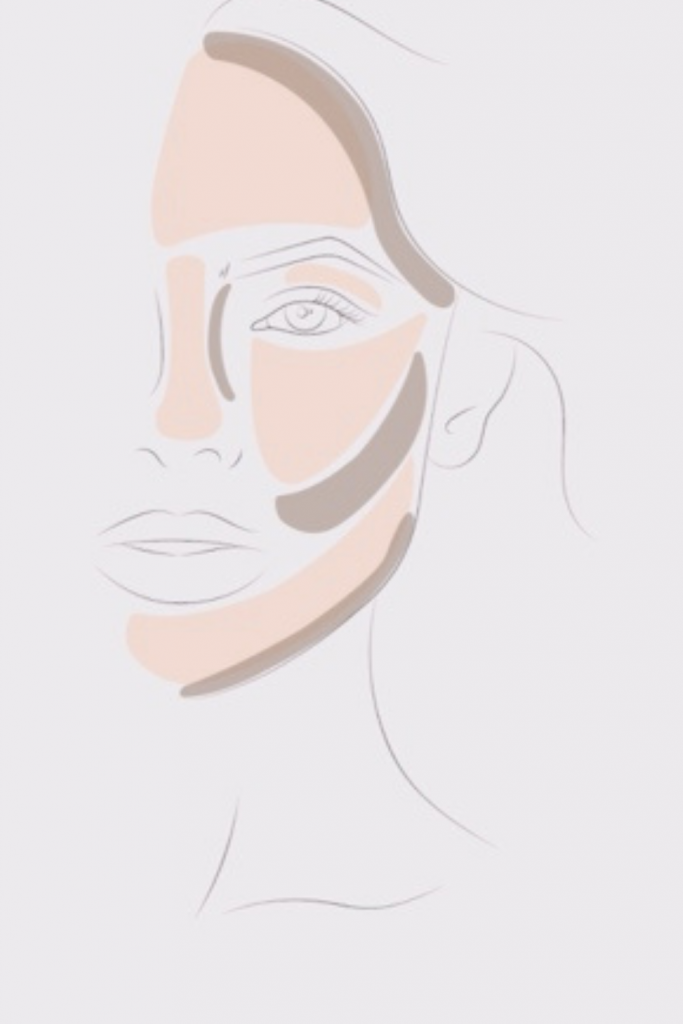
Product – Contour (Aspen)
Used: Mimics the natural shadows on your face. Place underneath your cheekbones, jawline, edge of forehead, and down the sides of the nose.
If you are a beginner with contour, I have a Complete Guide to Bronzer and Contour that will help you get started! I love using the large end of the Detail brush for my contour. To start, use the outer edge of the bristles to go down the sides of your nose with the contour to give the nose a little definition. Then, apply the color directly beneath your cheekbone. This helps sculpt that area. Then take the remaining contour and place it underneath your jawline to chisel it out and give it more definition. The final place I put my contour is across my hairline on my forehead. This gives more dimension to your face. *ProTip- place a small amount of contour underneath your bottom lip. This give your lips a little bit of a pout!
Product: Bronzer
Used: To mimic a sun-kissed glow. Place on the high points of your face where the sun would hit first.
Once the contour is in place, grab the Blush and Bronzer brush again, and swirl the large, fluffy end around the Bella Bronzer. I like to add a super light application to the high points of my face for some added warmth and glow. Bronzer is different from contour. With contour, you are trying to mimic the shadows on your face for more sculpting and definition. Bronzer is meant to warm your skin up and give your face a sun-kissed glow.
Guide to Lip & Cheek
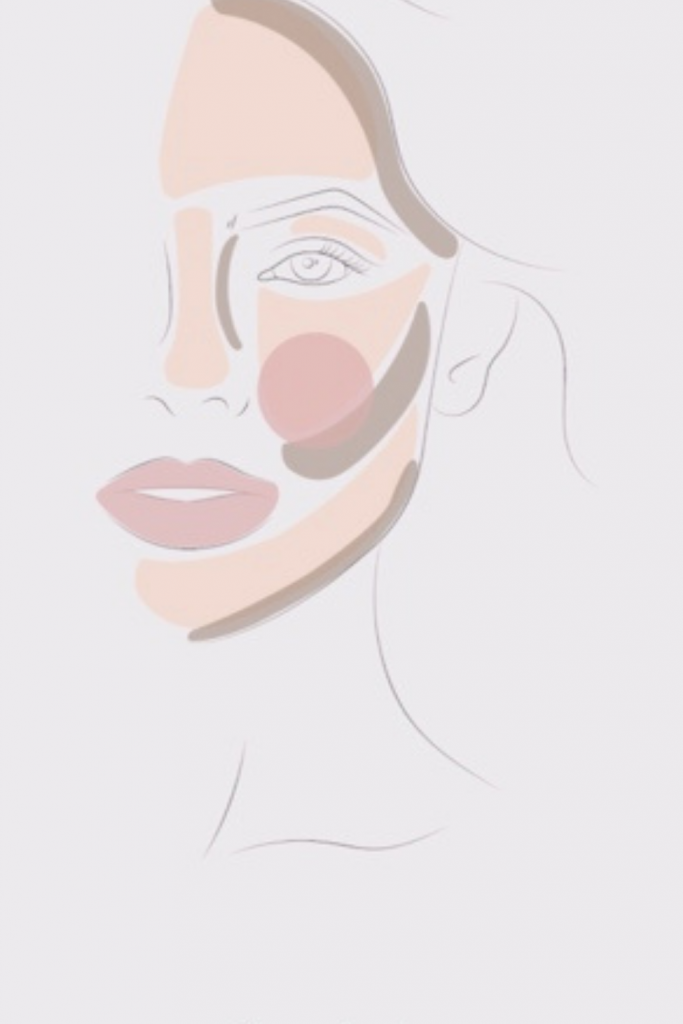
Product: Lip + Cheek
Used: Apply the apples of your cheeks and on your lips.
I still recommend doing a blush even if you use bronzer. Use the more dense end of the blush and bronzer brush and tap just a little pop of color onto your cheeks. The blush also doubles as a lip color. I just take my finger and dap a little bit on the lips. This helps finish off the look and pull all the makeup together for a beautiful and cohesive look!
I love to polish off every look with Illuminator, which is placed at the very top of your cheekbones and down the center of your nose.
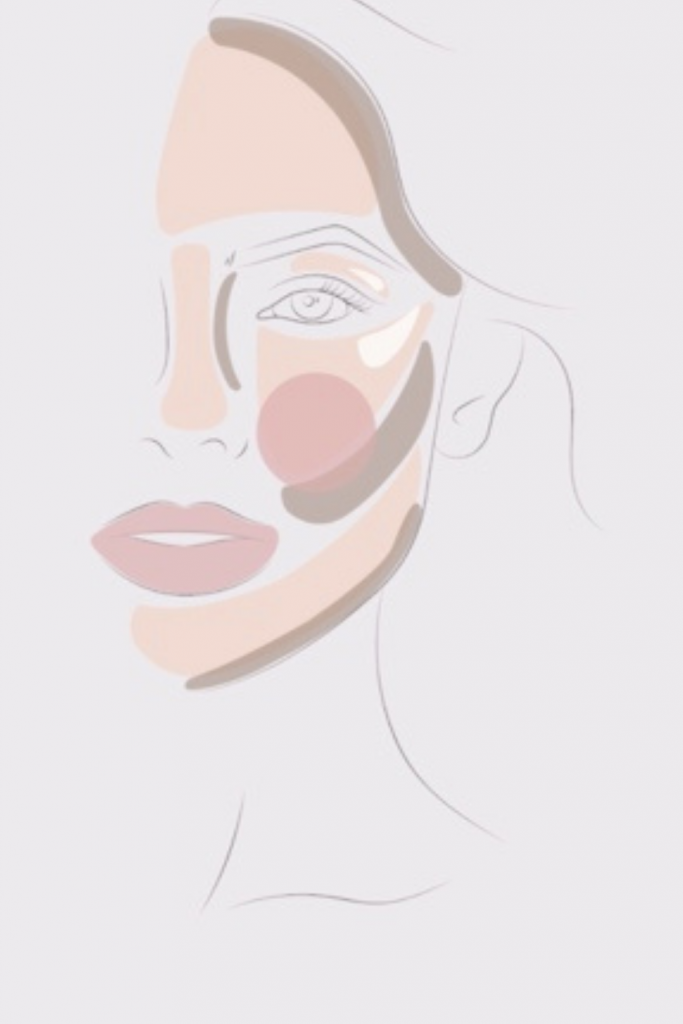
How to apply Seint’s iiiD Foundation
There you have it! My complete guide to Seint’s iiiD Foundation makeup. It is so nice to not spend time rifling through a makeup bag, opening and closing bottles, and switching back and forth between compacts. Just grab your Seint compact and everything is there at your fingertips! This guide will help you cut your makeup routine down to minutes, because your products are all in one place and you know exactly where to place each color. Check out my Instagram and look for the highlight bubble ‘Get Ready w/Me’ for a video tutorial. If you have any questions, let’s connect and find the perfect shades of makeup for your skin tone!
