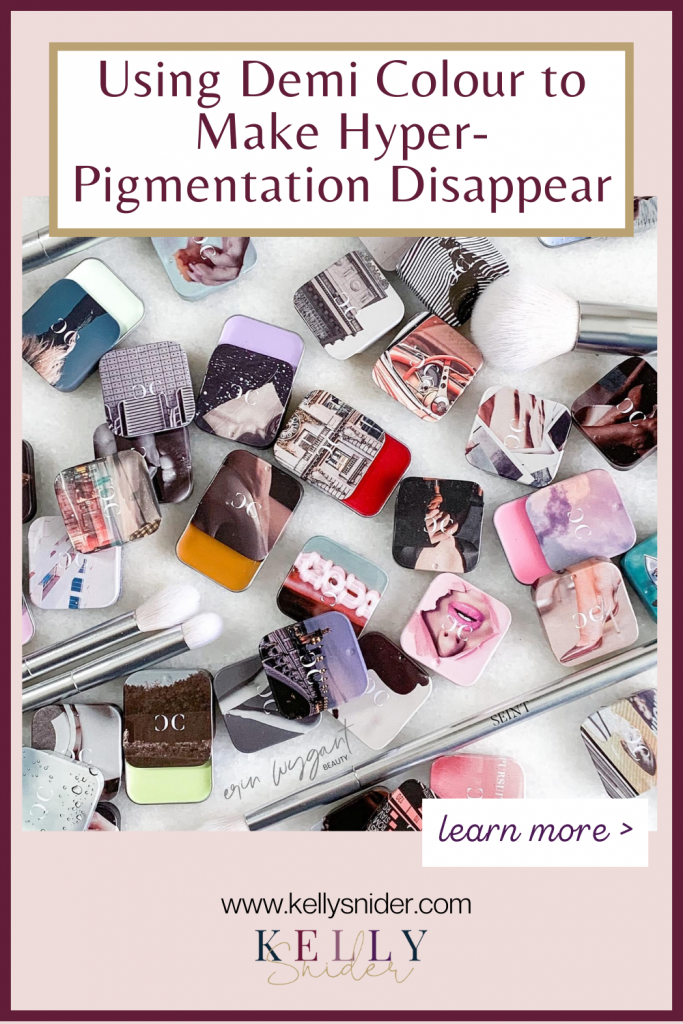
When you first start with Demi Colour, it can seem overwhelming. Trust me I know, becauseI’ve been there! But, with a few tips and by following these simple steps, you can learn how to make hyper-pigmentation disappear with Demi Colour easily!
How to Apply Demi Colour
Before you start applying your new Demi Colour shades, you need to have your supplies ready. I recommend you grab a good mirror, your Demi Colour Brushes, and your Demi Colours. Then get comfortable, and settle in to get to know your face better.
Step 1: Look at Your Face
I always recommend you start by just looking at your face without makeup on. Notice where your skin tone changes color, where you have blemishes, melasma, or birthmarks. All of these areas are called distractions. Why? Because they can distract you from seeing your true beauty and pull attention away from your best features.
Step 2: Pick 3 Distractions
Now that you’ve looked at your skin closely and taken note of the areas of distraction, it’s time to pick 3 distractions to focus on. These distractions can be melasma, under-eye darkness, blemishes, etc. Once you’ve picked 3 areas of concern, look at the size of each distraction. If the area is larger than a sesame seed, it’s made up of more than one color. I will address how to filter these distractions in the next step.
PURCHASE DEMI COLOUR NOW
Step 3: Find the Darkest Points of the Distractions
Before you start filtering each of the 3 distractions you’ve chosen, pick one to focus on first. Next, determine its size. Is it larger or smaller than a sesame seed? If it is larger, we know it is made up of more than one color, as I mentioned above. You will want to focus on just the darkest areas of the distraction first.
Many times you will have multiple dark points near each other on your skin. This can create the illusion of a larger discolored area rather than a smaller discolored point. When we focus on just the darkest points of our distractions, we are able to accomplish the goal of Demi Colour– to make the most impact on your skin with the least amount of makeup possible.
Step 4: Identify The Excess Color & Hyper-pigmentation
When I teach my customers about identifying the excess color they see in their distractions, I tell them to ask themselves 2 questions.
Question 1: Is the dark point excessively dark? And is it darker than most areas of your face?
If the answer to this question is yes, the distraction is in the blue or green family.
Question 2: Is the dark point excessively saturated and vibrant in color?
If the answer to this question is yes, the distraction is in the red family.
Now we will break these questions and answers down even further with a few more tips to help you determine what shade of your Colour Edits to use.
-If you answered yes to both of the above questions, your dark point is likely an excess of violet. These points look darker than your skin tone but are also saturated.
-If your dark point is dark but not excessively saturated, that means there is either an excess of blue or green on your skin.
(Excess green points appear brownish, greenish, muddy, or dark orange.)
-If your dark point is dark but not vibrant (like violet) or brown (like green), it’s likely an excess of blue on your skin.
(Excess blue points appear as a dark area and often appear ashy or shadowy. They can also look dark purple.)
-If it is saturated but not dark, we know the distraction point is either red or orange. 99% of the time? It’s red. Orange is not a common color to encounter on your face.
GET DEMI COLOUR NOW
Step 5: It’s time to color solve!
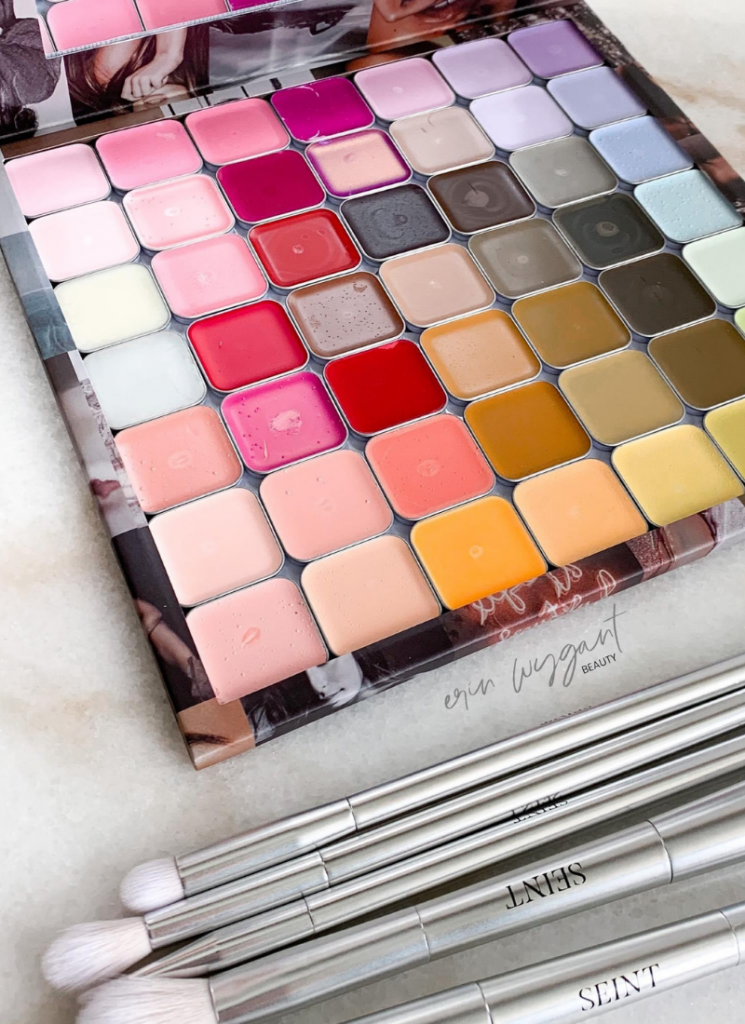
Now that you’ve made it through all of the questions and answers regarding the first of the three distractions you chose to focus on in the first step, it’s time to filter and color solve that point! To do this, you just need to use simple color science and find complementary colors. You will use the colors in your Demi Edit that are opposite on the color wheel to that of the excess color in the distraction you are trying to filter. This will neutralize the excess color of the point easily.
Step 6: Make Hyper-pigmentation Disappear with Demi Colour
Now that you are ready to make hyperpigmentation disappear with Demi Colour, you will start by choosing the Demi Colour brush that is closest to the size of the point you are working on, and use the least amount of product you can pick up on your brush.
Apply your Demi Colour lightly on your skin, but directly to the darkest point you are focusing on. If you go outside the dark point you are targeting, it will create a halo effect that will redefine the distraction and create a new distraction along with it.
Step 7: Filtering Distractions with Demi Colour
Repeat the process from earlier on the other 2 distraction points you identified at the beginning of this post. Once you’ve done this, let your skin settle if needed. This way you won’t be distracted by any redness that happens from you touching your face. Now determine if the area is flowing with its surroundings or if it’s still distracting and requires more filtering. If it is still distracting, find the next darkest point and repeat the steps above until the coloring on your face flows together easily.
Remember, only filter what is actually distracting. If areas or points are not truly distracting and become filtered, it will actually draw attention back to the distractions. Then, you’ll find yourself going back and filtering those areas as well. This will take a long time and will kill the magic of Demi Colour!
Enjoy your Demi Colour!
Now that you know the simple steps for how to make hyper-pigmentation disappear with Demi Colour, you are ready to enjoy Demi Colour for all it is! I know you will love how radiant your skin will look with Demi Colour. Skinimalism is the hottest trend in makeup for a reason! For more tips and tricks for applying Demi Colour, check out my other Demi posts here. And to keep up with me online, follow me on Instagram here.
