If you have spent your adult life steering clear of contouring, and the inevitable horror that will ensue with any “attempts” you make to do it, you are in good company. But I am to teach you how to contour by sharing the biggest secret to success when it comes to contouring: Maskcara’s iiiD Foundation.
Watch the Video below to see how to contour using Maskcara’s iiiD Foundation.
SHOP MASKCARA IIID FOUNDATION NOW!
Maskcara’s iiiD Foundation is a cream based product that consists of 4 colors: highlight, contour, lip+cheek, and illuminator. Each of these colors provides coverage, so you just place the correct color in the correct spot, and then blend for a flawless finish. It’s sort of like a paint-by-numbers for your face, or contouring for dummies. Fast, easy, and foolproof!! The killer combination when it comes to learning how to contour!
LEARN MORE ABOUT MASKCARA’S IIID FOUNDATION
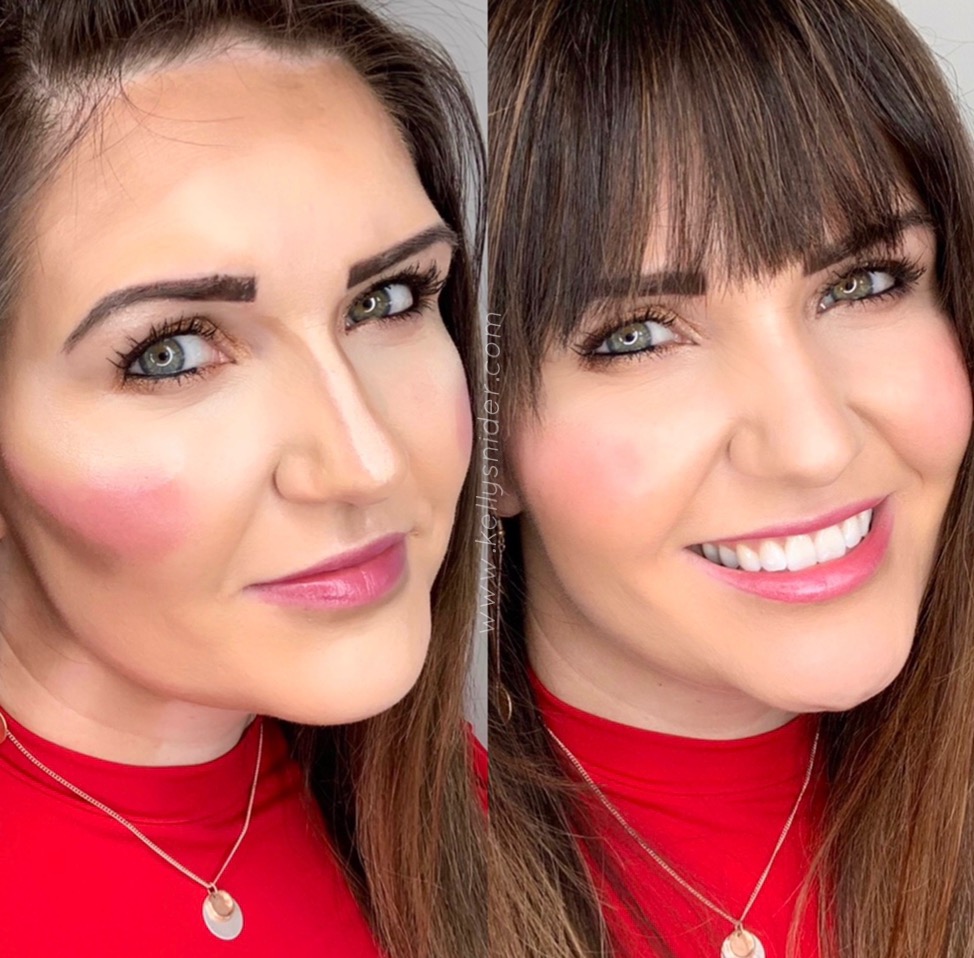
How to Contour in 5 Easy Steps
STEP 1: MAIN HIGHLIGHT (aka foundation)
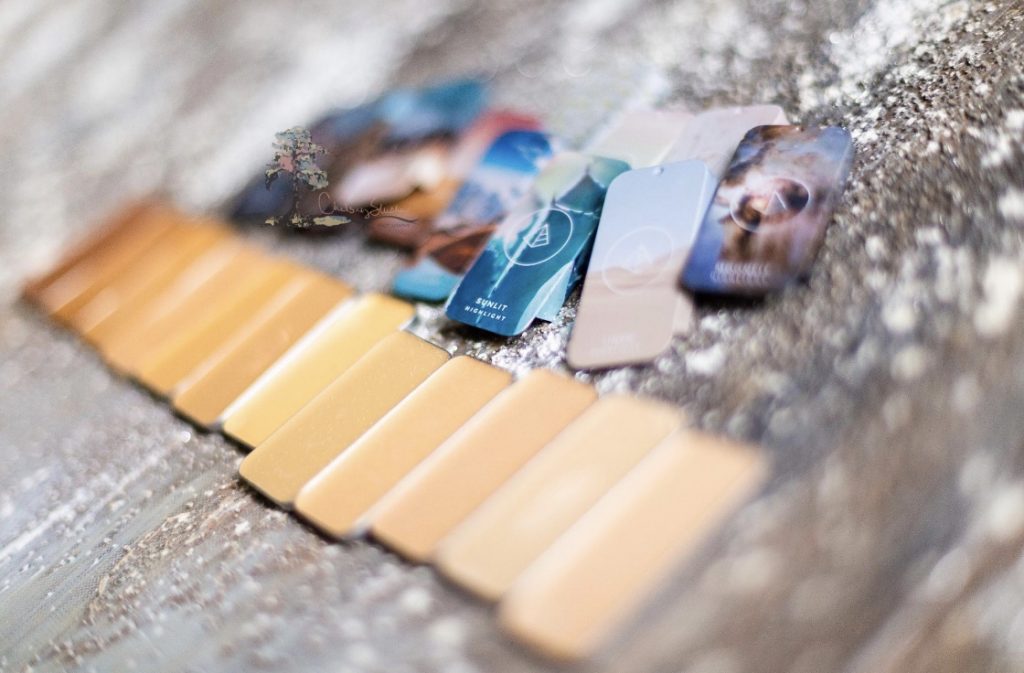
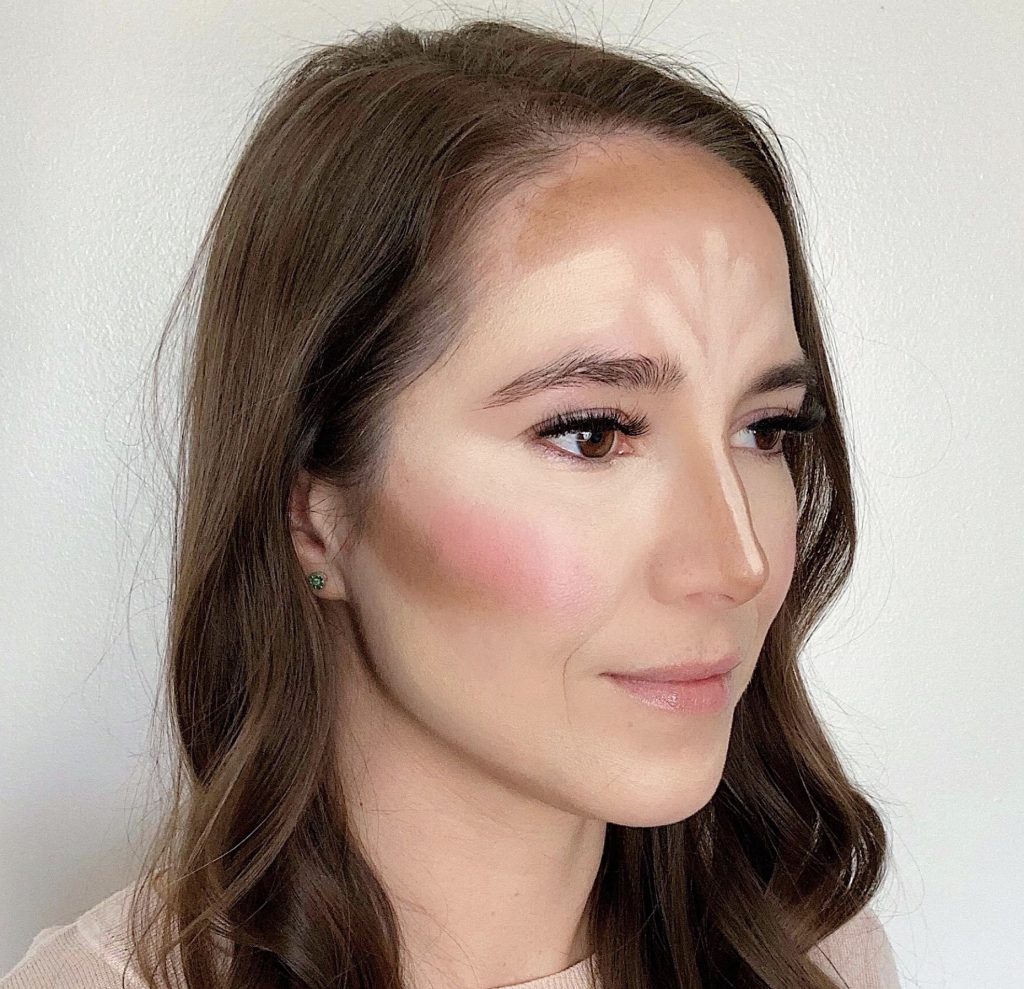
Before diving into contour specifically, it is vital that you understand that part of learning how to contour is learning how to properly highlight your key features as well. So to start, you’ll want to apply your main highlight color to your face first. This color will be the color that best matches your overall skin tone. You will use this highlight color to create a nice even base. However, you do not need to apply this color onto your entire face like you would with a traditional foundation. (Can I get a “Hallelujah!” for saving product?!)
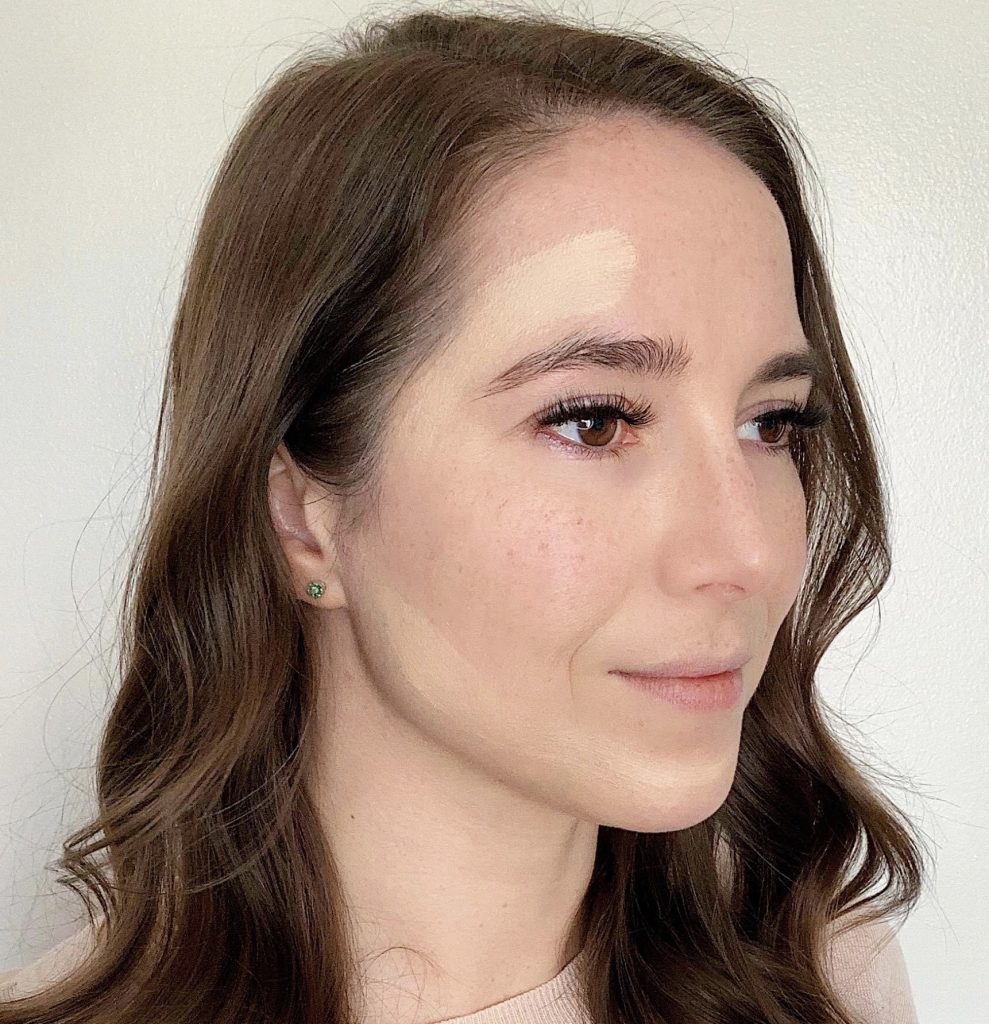
Simply concentrate your main highlight color on the areas of your face that will not be covered by your other Maskcara iiiD Foundation colors (contour and blush), like along your jaw, chin, nose, temple, and above your eyebrows.
STEP 2: ACCENT HIGHLIGHT (aka concealer)
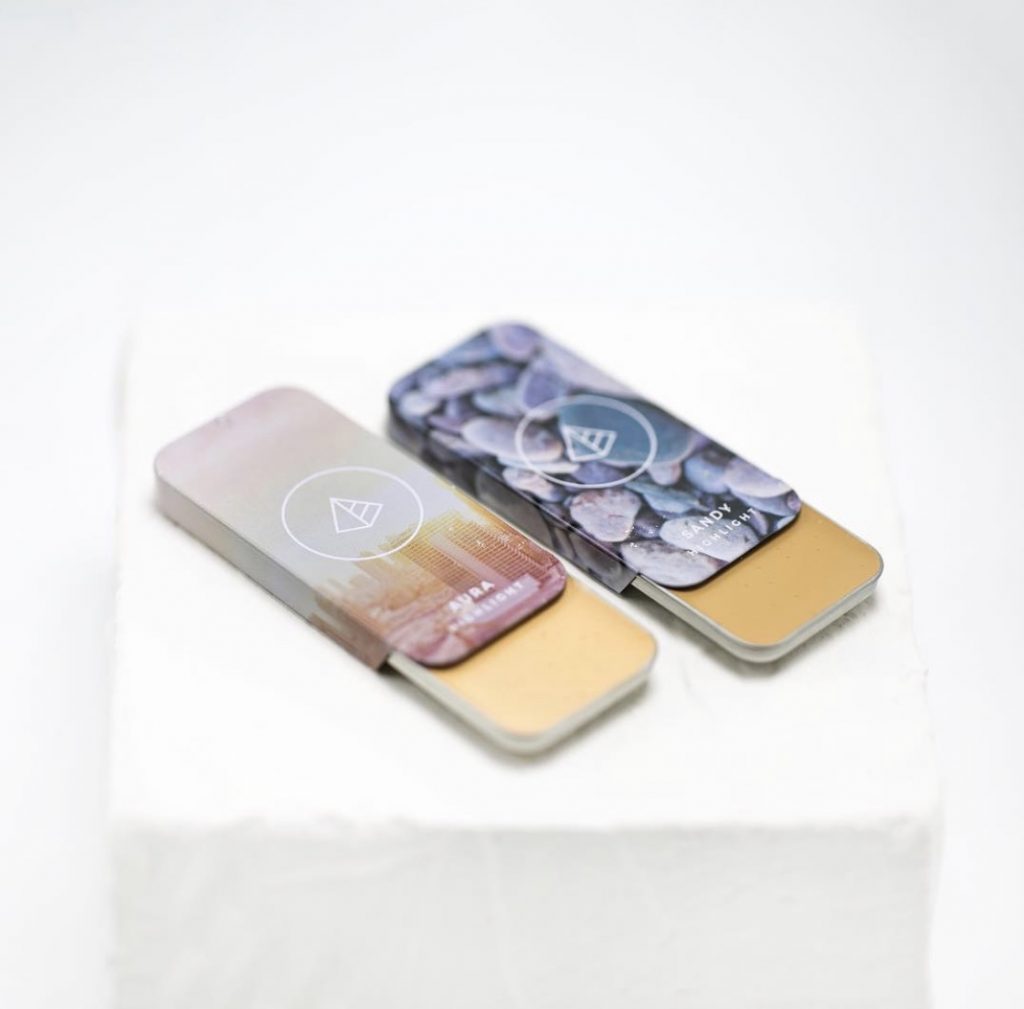
Next, you’ll go in with a second highlight color. This color will be a lighter shade than both your main highlight color and your natural skin tone. Light brings things forward, so with makeup, you want to use a lighter color to pull certain features that you want to the forefront — like your eyes. Let’s make those beauties pop!
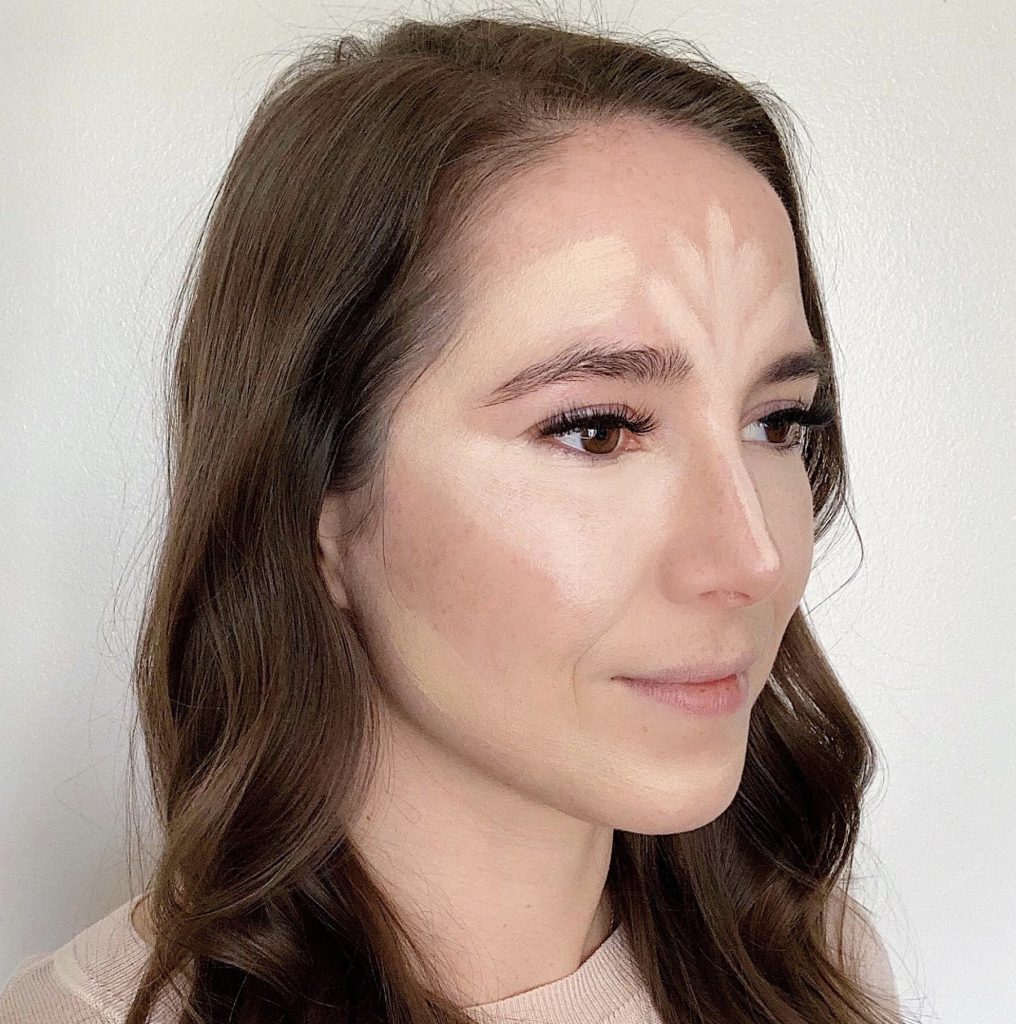
You can do this by applying this lighter, accent highlight color to the following places: down the center of your nose, directly under your eyes, the center of your chin, and the center of your forehead. This will lighten and brighten the center of your face, and help to really show off your eyes! This if often referred to as the “Triangle of Light”. To more easily remember where to place the accent highlight color, just remember to place it in your t-zone and in a triangle under your eyes.
STEP 3: CONTOUR
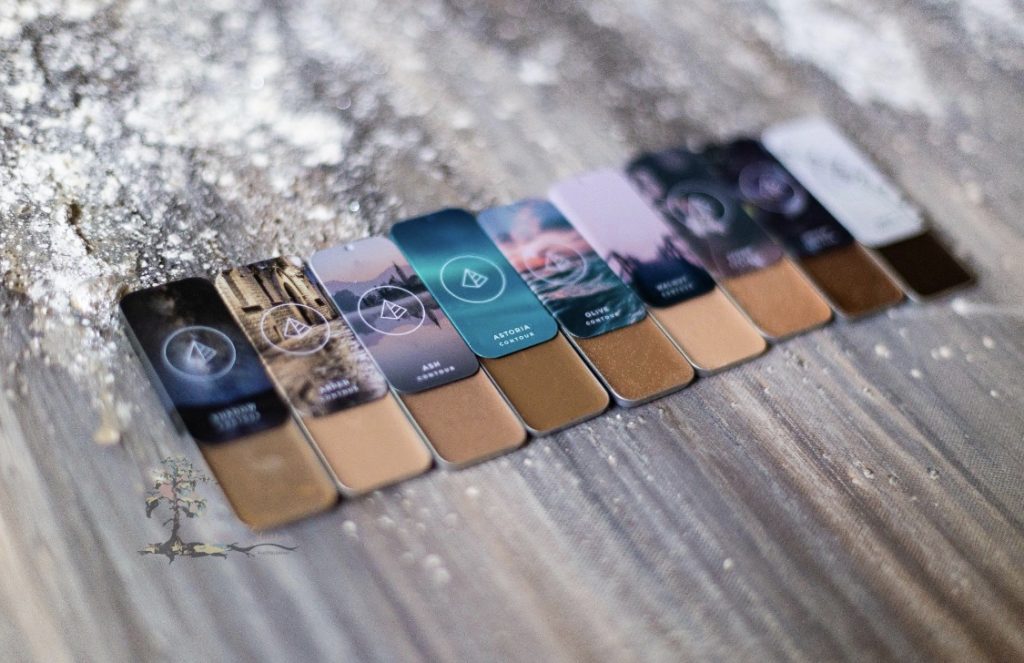
Next up, we’ve got to tackle that intimidating 4-letter word: contour. Are you feeling ready?! Let’s dive in!
Contour is a shade that is darker than your natural skin tone. It is used to mimic the natural shadows that fall on your face. This is why contour colors tend to be more ashy in tone, in contrast to bronzers which typically have a warmer base.
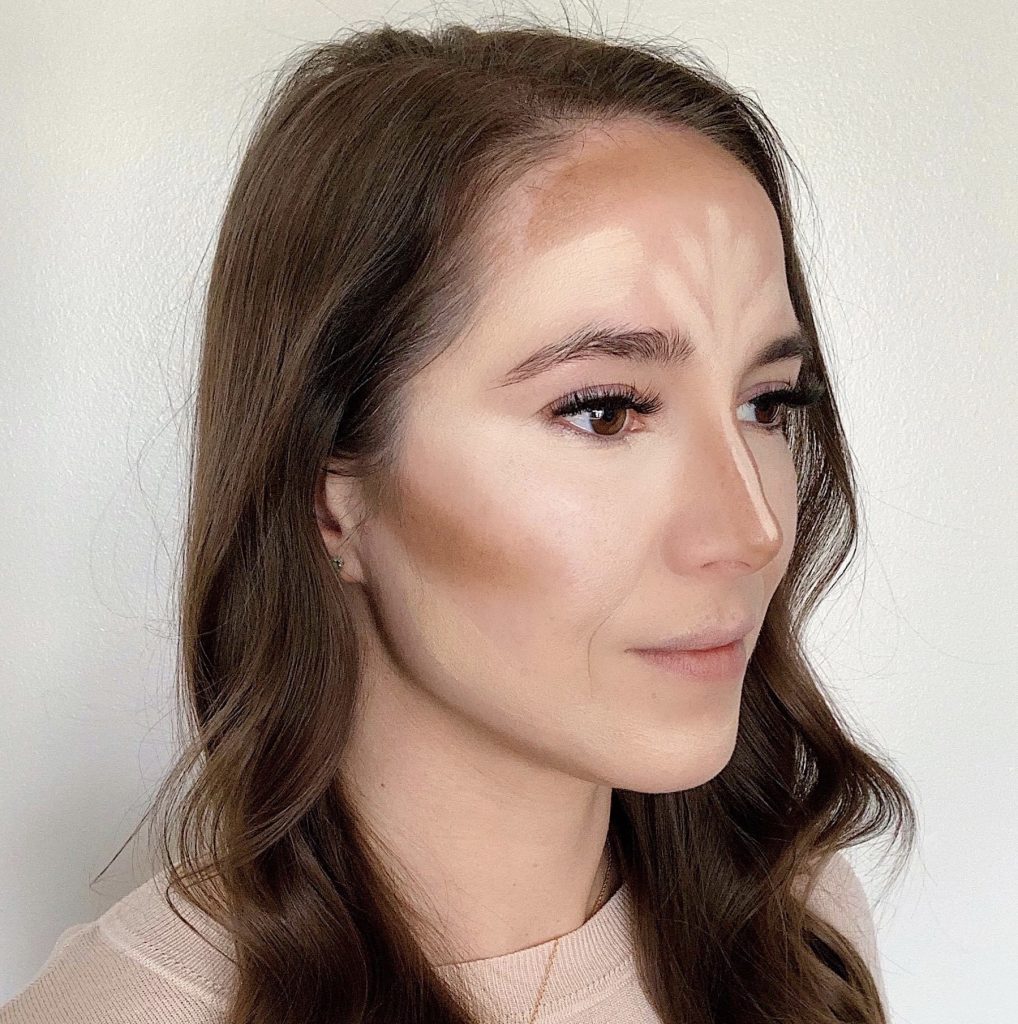
Just like light brings things forward, dark pulls things back and reduces the appearance of things, giving a more sculpted and chiseled look. (Hmmmm… contouring is sounding better already. Do you think there is a YouTube on how to contour pesky love handles?) So contouring is just used as a way to emphasize those natural shadows on your face to create further depth and dimension. Your contour color should be concentrated along the sides of your nose, along the jawline, in the hollows of your cheeks (directly beneath your cheek bone) and along the hair line of your forehead.
Not as bad as you were thinking, right?! Phew! Now just two more simple steps and you’ll know everything you need to know!
STEP 4: LIP+CHEEK
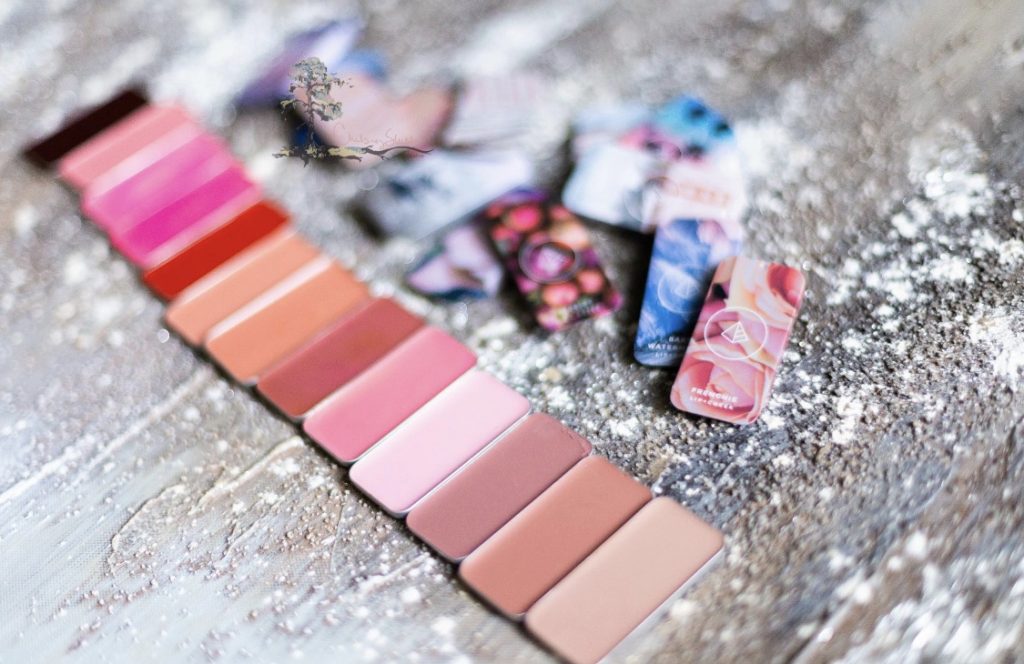
We’ve got light, we’ve got shadows, so now it’s time to add some color!! Masckara’s Lip+Cheek colors will add some much needed vibrancy to your face. Adding a pop of color to the apples of your cheek (right above your contour), will bring your face to life! And as an added bonus, this color works not only as a blush, but as a lip color as well. So just add that same pop of color to your lips for some consistency, and really pull your look together!
SHOP MASKCARA LIP+CHEEK COLORS NOW!
STEP 5: ILLUMINATOR
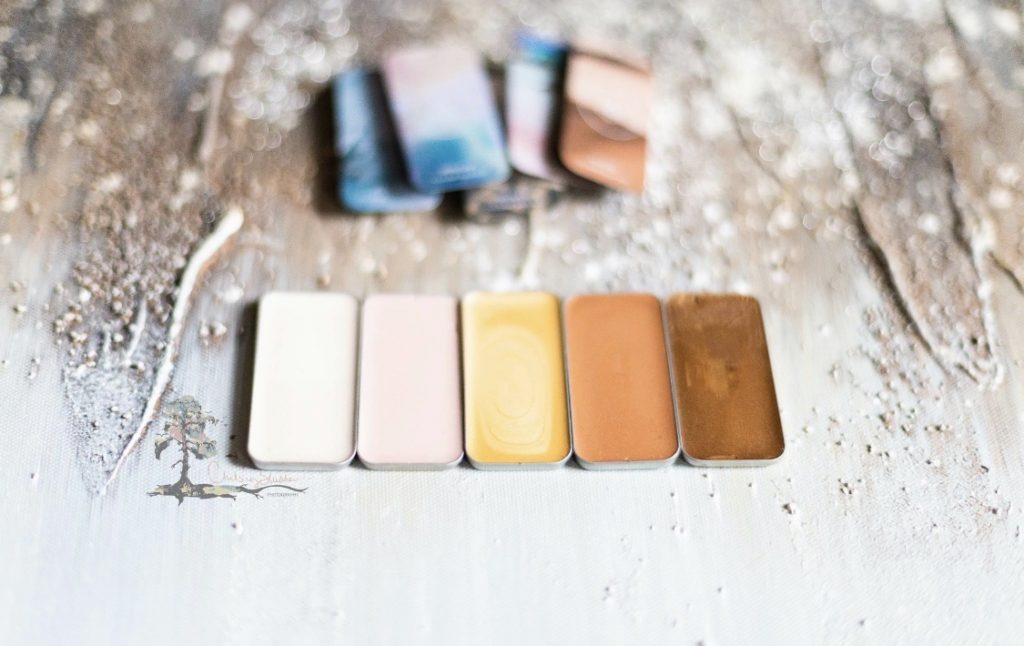
And finally, there is the illuminator. But don’t let the significance of this crucial step be lost on you. Illuminator will give a radiant glow to key places on your face by diffusing the light and leaving your skin looking younger and softer. I think that stands for being repeated, don’t you? Younger AND softer! I’ll take one bathtub full, please!
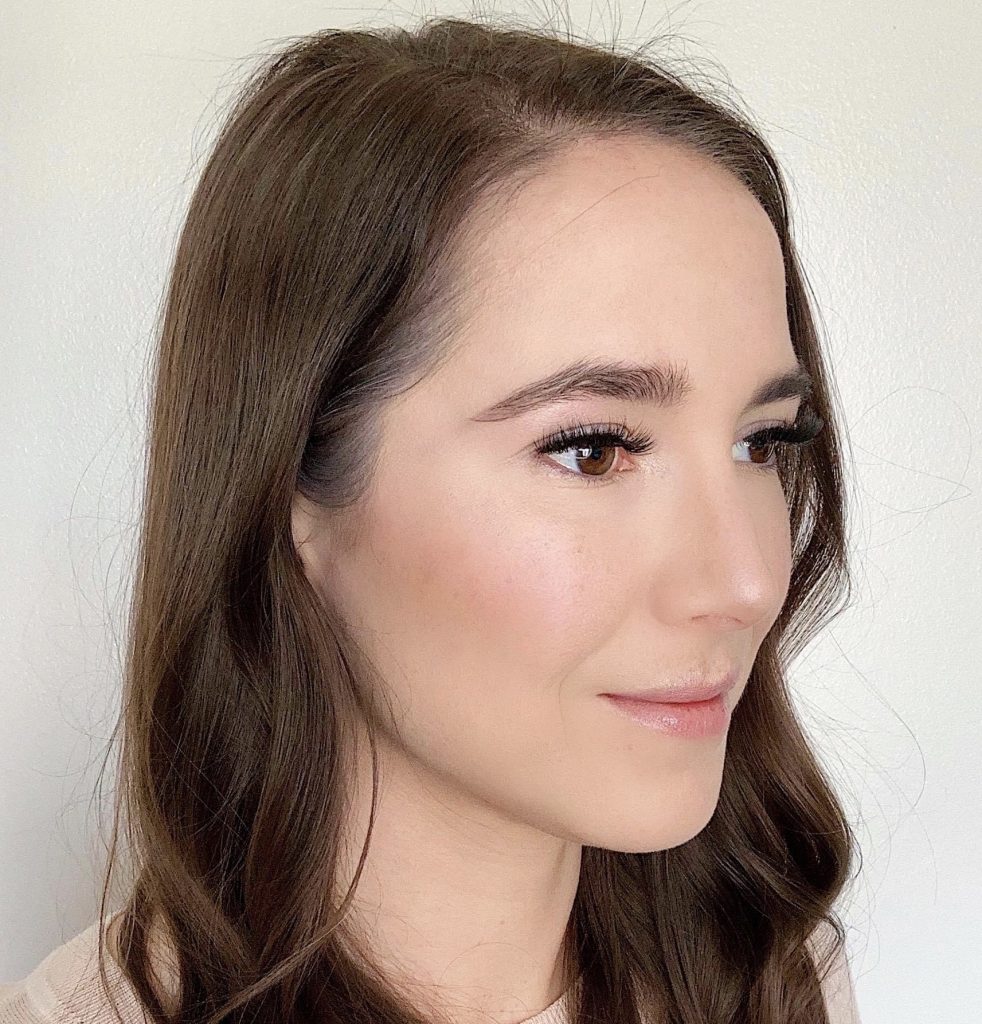
Once you have blended your makeup together (don’t worry — creams are incredible to work with; they are so forgiving and blend like a dream!), you will apply your illuminator. Using an illuminator will add a little touch of luminosity that will compliment the structure of your face and leave it with a natural looking radiance. You’ll want to concentrate your illuminator along your cheekbone, underneath your brow bone, down the center of your nose or at the tip of your nose, and on your cupid’s bow (right above your top lip).
SHOP MASKCARA ILLUMINATORS NOW!
And that’s it! Just 5 simple steps to achieve a flawless, filtered look! And the best part?! All of the Maskcara Beauty iiiD Foundation colors fit into a single compact, so you can have all of your makeup in one place — including your eyeshadows! Your makeup game is about to be forever changed! Now go get yourself some Maskcara products and go full-blown Bob Ross on your face (“Happy cheeks. Happy Cheeks.”)!!!

Not sure what colors to get? You can get a FREE PERSONAL COLOR MATCH from me to find out what colors will best match your skintone!
